Another 2 weeks have gone by which means it's time for another challenge over at ATCs/Cards with Attitude. Last time we had over 100 entries which is absolutely fantastic.
Our sponsors are Delicious Doodles who are generously giving 4 digis to our winner. So come on, pop over to our challenge blog, have a look at what the DT have done and then make either an ATC or CARD and enter.
I chose a gorgeous poppy image and made a card this time.
I coloured it with Copics and had a ball doing so, mainly because it turned out really well - for me anyway. The edges of the orange vellum have been punched with a Martha Stewart around the edge punch. I didn't use the corner punch because the size of the vellum didn't match the required measurements to actually go all round the edges.
I'm waiting for your entries so let's get going.............
Showing posts with label martha stewart. Show all posts
Friday, 15 June 2012
Wednesday, 4 April 2012
WICKED WEDNESDAY ATC #26 - WOODLAND NYMPHS & FOREST FAIRIES
Thank you Jenn and team from Wicked Wednesday ATCs for picking me in your top 3 last week. Such an honour.
I have looked forward to this week's challenge so much (to see a list of upcoming themes, pop over to WW blog for details). I wanted to do something different this time so I've made a 3D card. It was such fun:
The fairies/nymphs are made from shrink plastic -
I used a hot glue gun for an immediate result -
The mushrooms were stamped on card and coloured with Distress Markers -
The 'trees' were cut from Alterations strip dies and a Martha Stewart punch -
The forest floor is sea moss, the flowers are Prima and there is some stickles and glitter mixed in too -
This will have to go on my little craft shelf now as there is no way it will fit in an ATC pocket, LOL.
Thursday, 12 January 2012
WICKED WEDNESDAY ATCS CHALLENGE #14 - OCEAN/AQUATIC
All the deets for this super challenge are HERE.
I enjoyed this one - but then I enjoy all the challenges I have a go at - and got to use my precious Brixham shells again. Any excuse to use those because when they are all gone I will be able to make the excuse to go to Devon again for more!!!
The base is mount board covered in Terra - Sahara - which gives a sandy effect when dry smeared with a bit of broken china distress stain. I used the top of the branches from an Andy Skinner tree stamp to stamp sea weed in forest moss DI which I then clear embossed. The rest of the scene is made up of sea moss, Martha Stewart punched branches, shells, a sea horse charm, a fish button, some sparkly sticky gems and a brass anchor embossed with aged mahogony distress embossing powder. The whole effect was glued together with multi matt medium.
Thanks to Wicked Wednesday ATCs for picking me as one of their top 3 again last week. It's such fun to have a go.
Sunday, 20 November 2011
ATC CHALLENGES #15 - LACE
Who can resist a bit of lace. I can't so I've had a go at the ATC Challenges challenge which this fortnight is - LACE.
The artificial light is shining back making the background a bit difficult to see, but it's a piece of mount board with splashes of distress ink on in faded jeans. The metal bracket at the top has been coloured with paint dabbers, the white snowflakes are all made with a Martha Stewart punch and then covered with ultra fine glitter, the blue rose was coloured with a Copic pen and the rest just came together.
This challenge runs for 2 weeks, so why not pop over to their blog for all the deets and have a go.
Saturday, 12 November 2011
SDC #42 - SKETCH
The Stampotique Designers challenge this time is a sketch:
You can use any stamps this time round and have until 22/11 to enter.
I've had a go and made another Christmas card. Well, it was a good opportunity.
I had the papers in my stash and found they were a perfect match for the new winter distress inks which I used on the Lindsay Mason elf stamp. The red matt is punched using a round the page punch from Martha Stewart and all the liitle snowflake punchouts make a super embellishment.
Friday, 30 September 2011
3 TAGS CHALLENGE LAST DAY
This month, Heather set us a tag challenge. The themes were:
1. season of mellow fruitfullness
2. vintage birds
3. the daydreamer
The idea was to use the finished tags within a journal page so we were asked to leave some places, both front and back, for journaling.
This is what I came up with:
This is the first one. I prepared the base with stains and then used Terra through a stencil to make the raised flowers. Once dry, I added the vellum Flower Fairy. The leaf at the bottom is from a Marriane design which I anchored by the stem only so that journalling could be added underneath without spoiling the effect with writing showing. I simply covered the reverse with K&Co paper.
The colours go well together.
The second tag had me thinking about Heather's pesky parrot ATC that for some time has fascinated me. I came up with this - not anything as good as that ATC I might add.
I distressed the edges of the card and then stamped all around with some mini flower stamps. The parrots were from free downloads, the punched border was made with a Martha Stewart punch and the centre paper is from some of Tim's stash. Again I used a download and altered it a bit for the reverse.
The addition of some peel offs helped the appearance.
The last one was fun too.
I stamped the girl and carefully cut her out. I then prepared the base by making it from a nestabilities die, distressing it and stamping the girl onto it. The word is a Tim stamp, the flowers and leaves are Prima. I finally glued the cut out image over the stamped one by the log at the top only. This gave a hidden space ie. the reverse, on which to include writing. I had fun with the back on this one.
I used the stencil from the first tag but blended subtle colours through it. I added my details around the white bits to show the recipient where journaling could be included.
I had to make these tags within a couple of days of the challenge beginning because we went away for a couple of weeks and are really busy now we are back. But for all my rushing to join in, I had great fun.
Thank you once again to Heather for this challenge and roll on the next one.
Monday, 15 August 2011
BE PREPARED TO BE AMAZED
Any one never been to a craft workshop?? You are really missing out if you haven't. I remember my first many years ago now, where I learnt to heat emboss. The lady who taught me now has her own shop and has had for the last 10 years, The Stampers Gallery, The Boskins, Tarleton.
I've amassed my own craft stash and could probably open a shop of my own, however, I think I have found my niche and prefer to play with inks, paints and stamps now rather than peel offs, stacks of patterned paper, felt or Lace. So, when I attend a workshop now, I expect to do just that and attending a Lindsay Mason workshop amazes me every single time.
I went over to St Helens yesterday to Crafts 4 U 2 Do for one such event and was so happy with the 3 cards we made, I even stayed up 'til 2.30am this morning finishing one off!!!
My workshop space before the off. The middle was filled with lots of Distress Stains - yummy!
Our first card was just amazing. Made with Lindsay's new Xmas stamp set 'Build a Snowy scene', I could not believe the techniques we were shown and had to ask where these amazing ideas come from because I see a stamp and just - well, stamp it. Look at my card.
Isn't that stunning?
The next was more traditional but again, incredible.
We used alcohol inks to create the background and another of Lindsay's new Xmas stamp sets - sorry I don't know the name of this set, but go onto the Personal Impressions web site for the info. The trees and minarets, oh and the little (shed) can all be used throughout the year, so this set is really useful.
Finally, we started the 3rd card but ran out of time in which to complete it, hence my stopping up late.
This one is just so hilarious.
I don't know why I didn't buy this stamp set but I really must. The holly frame is made with a new Martha Stewart round the edge punch. It is proving extremely popular and is already in short stock. We used Distress ink for the background and to colour the holly, a tricky manoeuvre but fun to do. I finished my cheeky elf with some liquid pearls on his hat and a little bell. I think Lindsay has arranged more workshop dates, so pop over to her blog in a few days for details and treat yourself to some amazement.
Here are some photos of Lindsay's sample cards. If you compare those with the ones I made, you can see what a good teacher Lindsay is because there is hardly any difference!!!!!!!!!!
Thanks for looking.
Sunday, 12 June 2011
A CUTE CARD
Not very often I make a 'cute' card but this one happened because I toyed with the idea of applying for another DT. Third time lucky I thought. Anyway, I haven't really got round to doing it and for me, that isn't the way forward. I thought if I can't get on and DO IT, I have no right to be thinking about it. Something so important needs commitment and I don't seem to have that inclination this week.
I had a rummage through my pretty paper drawer, found a lovely little digi image, pulled out the DIs that matched, picked out some coloured brads and found some tiny Prima flowers. This was the result:
The deep edge Martha Stewart punch matched the gorgeous embossed red paper to a 'T'.
I used a water brush and DIs to colour the image so the little girl's skin is quite patchy really. However, as she has been in the garden all day picking flowers in the sunshine, I thought she looked a little tanned!!!
She is printed onto thin card so I could cut her out and mount her onto the card with 3D foam.
The little flower brads match perfectly too. I cut off the prongs and stuck them down with Multi Matt Medium.
Finally, I stuck the Prima flowers to the bottom of the card, leaving the stems long apart from those at the edge.
It all worked out really well. I think the moral of making this card was to stick to the same pallet for all the items. Maybe cute isn't that bad after all.
Monday, 16 May 2011
WHERE DO I START WITH THIS POST???
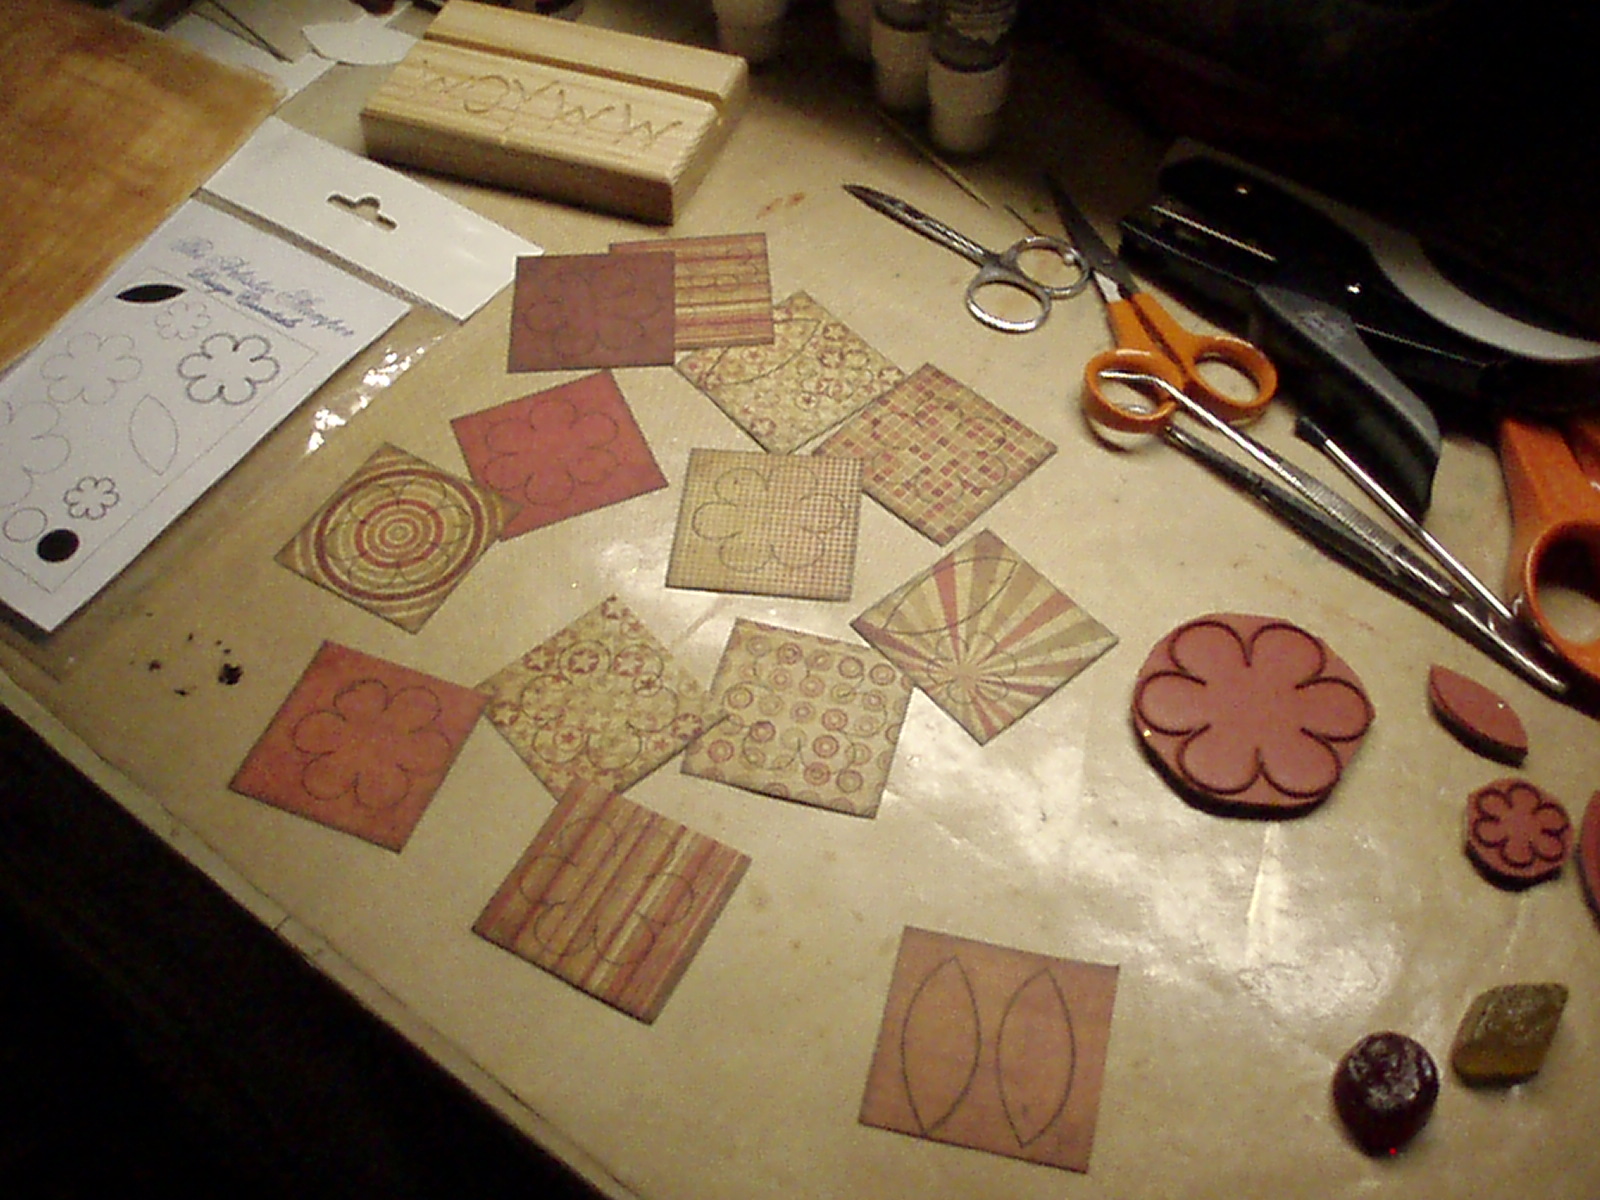
I needed some fun so last week I managed to book onto Amy and Lindsay's first joint workshop venture. A dose of crafting bliss enhanced by cuddles from friends just cannot be beaten.
First up for the morning session was Amy. Now I know Amy does 'simple' cards but I learnt something new from each of the 4 projects and to me just proves that there is nothing 'simple' so to speak about any card crafting. The ones we made are really gorgeous and I shall certainly be taking the techniques forward many times over. Also, I started my day by making mistakes on the first 2 cards!!!!! See I told you crafting isn't simple - just me!! - sorry David, again!
Here goes then with my fabby day. Card #1.
How could I get this wrong? Well, the patterned paper on the left should have the zig zag side the other way round so that the edge shows up on the pale green paper on the right. Lindsay to my rescue. She suggested I punch a Martha Stewart border to go over the plain edge. Looks good now eh?
2nd card.
Oh I loved this one. I carefully cut into the punched flowers so they would bend upwards, and carefully glued them together. No problems with this card - so I thought. I stuck the patterned paper to the base card and it wasn't straight. Looked awful too. Not to worry, Lindsay to the rescue who suggested a thin strip of the base card over the edge of the wonky paper which I could then stamp with the dots. Turned out just perfect in the end.
#3.
Now what could I do wrong with this card? Hehe got ya, nothing, 'cos I got this one right. This card was a little cracker to make and I love it - getting it right helped - as it uses up all those little strips of paper you get after trimming bigger bits. You just cut them to size, stick a brad through the middle of them and fan them out. This is a super card and I'll be using this tip again too.
#4.
Yes folk, we grew some carnations, or is it a peony? Whatever flower it is, it's gorgeous. We had squares of tissue paper (lots) which we then folded - concertina. We then tied a piece of ribbon round the middle to hold it in place. After that, we bent the strip in half and cut the ends to look like the top of one of Tim's tags. Holding the bit with the ribbon, we then proceeded to fold down each layer ending up with a bunch of magnificent flowers. What beautiful embellishments for parcels.
Fantastic morning. THANK YOU AMY.
After a lunch break the room was set up for Lindsay's workshop.
Card #1.
This is just a beautiful card. I still have to fasten a pearl drop to the end of the fragment. So many techniques to this A5 card, each one easy but so complicated looking. We used distress stains, acrylic dabber, distress inks, perfect pearls mists, Tim's new crowded attic paper plus a fragment. I concentrated really hard with this card, wanting to make a masterpiece. We had to stick the 'stained' paper to the front of the base card and trim it to size. I did it perfectly. Then we stuck the matted piece to the main card - Oh ***^+""**, mine was upside down. I could have cried. I had turned my card whilst cutting the paper to size and not checked it was the right way round for the next step. Lindsay to the rescue. She gave me another A5 card and suggested I cut the front off the one I had done and stick it to the new card. It didn't matter that the words were upside down. Now I look at it again, some words are sideways anyway. Phew!
Card #2.
This card brought whoops of joy from me because I had seen this one on Lindsay's blog and was mesmerized by it. The background is made with alcohol inks so you know that each one you make will be different. I love them. We stamped the fantastic tree, grasses and birds with Archival black and matted it all with black and white card onto an 8" card - my absolute favourite size. Now you will be looking at this masterpiece and thinking - the girl did good there - but actually, I had stamped my tree in mid air!!! der! David to the rescue - just by his presence - and I covered the base of the trunk with the grasses. Oh dear, what a shambles.
#3.
Now this being the last card of the day just had to go well. I'm pleased to say that my gremlins finally left me at this point and the whole card went without a hitch. We got to use one of the new Martha Stewart all over the page punches - butterfly. Again, lots of techniques but I managed them.
THANK YOU LINDSAY.
I now have a set of gorgeous cards, each with techniques new to me, all of which I shall use over and over. As for the gremlin, he's had a good kicking and been told not to bother me again. Thing is, I can't do craft in a rush, I need to take my own time, plus I'm a night person and it takes me all day to wake up. Well those are my excuses, actually, I was doing it deliberately to test Lindsay's skills at confirming that any crafting mistake can be turned around into a crafting technique!! Like that excuse better.
Monday, 9 May 2011
A NEW ATC CHALLENGE BLOG
Thank you to Gez for finding this new ATC challenge blog and sharing it with us. I love ATCs having been introduced to them by Leonie Pujol many years ago now. Through her and the cards, I have made the most wonderful crafty friends all over the country, and am now an avid crafter of other paper projects. My life changed from that magical day.
The new blog, ATC Challenges, starts with - Anything Goes. They will run this first challenge for 3 weeks then expect to announce new ones each fortnight. Yippeeee!
I made this card a few weeks ago.
The background is mopped up distress inks and re-inkers from my craft sheet, spritzed with copper perfect pearls. The rose is made from the medium flower stamp from the Artistic Stamper range - Flower Power - cut from the Tim Holtz lost and found stash. The black flower is a die cut from Tim's tattered florals embossed with hologram powder and the Artistic Stamper's mini chicken wire stamp. The branches are made with a Martha Stewart punch.
The black lace covers the holes where I threaded wire through the card to make the bead loops - they took me an age to make!. Finally, the words are torn pieces of Tim's tissue tape.
I hope to join in these challenges over the coming months and am intrigued to think what the subjects might be.
Saturday, 2 April 2011
2.75" x 2.75"
That's how big this canvas is:
It isn't going on the tag, that is there to show you how it turned out after mopping up the spare ink from the other day. The canvas is the first one I've used which is so small - and I've got a couple even smaller!
I painted it all over with trad. tan Studio paint then used dusty concord distress stain all over including the edges. How quick a job these stains make, just brilliant.
I then used a lolly stick to 'splodge' some Indian coloured Terra over parts to give some depth and interest. I dried it sparingly with a heat gun before rubbing purple and gold metallic rubbing wax over it. I then gave it all a good spray with heirloom gold perfect pearls. Had to let that dry in the sun as I wanted to keep the droplets.
The flower is one of the ones I made when we went away the other week. Matches perfectly. I mounted it onto the small cog which I cut from grungepaper and coloured with the dusty concord again. The leaves are cut from paper using an MS punch.
Just look at the lovely sparkle from the perfect pearls spray.
To finish off, I added some seed beads and a bit of purple stickles.
What a fun little project. I've decided to use it as a centre piece for a large card. I placed it onto a fancy piece of paper I had previously punched using an MS round the edge punch, and placed the whole thing into the middle of an 8"x8" card. It looked super. Having said that, the card was white and it needs a cream one. So that's what I shall do.
Thanks for looking.
Friday, 25 March 2011
A DIFFERENT APPROACH
I've tried to be 'clever' and made an ATC with a different approach. It hasn't worked! but, it's not bad for a first - and possibly last - attempt. I am in complete awe at the incredible pieces of art I see over on Laura Carson's blog - Artfully Musing. She is one of the most clever crafters I have ever come across. Her gorgeous ATCs are up for grabs every month and I was lucky to win one in January. She puts so much quirkiness into each one that you just cannot help but be 'gob smacked'.
I want to put more detail down the side but as I haven't got a clue what to do, I've left it alone.
The golden arch is a peel off stuck to thick acetate and cut around the edges. I used a tape roller to stick it down as the glue is almost invisible. A few black sticky gems finished it off.
The background is cut from a 12"x12" K&Co paper.
The lady image is one that Laura had previously posted as part of her generous free downloads. I simply cut her out and added a bow from my stash. The metal corner is another little treasure from my stash.
The flowers are from a local trade store and were cream until I coloured them with a gold dabber and a red Copic pen. The leaves are punched from gold embossed card with a Martha Stewart frond punch. The beads are simply threaded onto coloured wire and the little metal flower is one from Leonie Pujol's ATC pack, again coloured with a gold dabber.
Nothing like I would have wanted, but it's ok - I suppose.
Saturday, 6 November 2010
BRRRR!
Winter is definitely in the air, more so next week aparently. I am trying to make a few Christmas cards, the special ones at least. The image on this one is really chilly, to match the temperature.
I coloured this a while ago so only had to add bit of bling ie. stickles to her fur trim.
The base card is HUGE. It's 7.5" square and is from a pack that Sonia kindly gave me last Tuesday. Thanks again Sonia. I covered the front with a piece of Tim's Vintage Shabby paper, a piece of gorgeous lilac paper which is silver embossed. I've not been able to cut into this paper because it's so gorgeous, but hey! the time has come.
I matted the image onto another piece of Tim's paper, roughed the edges and stuck that to the card. All the paper was distressed around the edges with dusty concord and the image was edged with silver stickles, bits of silver peel off to make corners and some square sticky gems. I made the snowflake ribbon with a Martha Stewart punch and the white branch is from Tim's regal crest die. Everything else is from my stash.
I enjoyed this one, but reckon it may have to have a box if it gets posted.
I've started another card but want to enter it into a challenge so I must get on with it as I have to make 2 birthday cards and one of those is needed for next Tuesday!!
Wednesday, 27 October 2010
WOYWW BEFORE THE CLOCKS GO BACK
Can you believe the clocks are about to alter for another winter?? I hate it when it happens but get used to it as the weeks go by and snuggle up at night in my dressing gown watching tv. But how nice would it be to never see the winter??? Well I for one would not mind 12 months of summer for at least one year. That's just what my neighbours have EVERY year!! They set off at 5am this morning for Goa and will not be back until next April!!! How exciting is that?? Safe trip you two, see you in blogland, email land and Skype for the next 6 months.
We, on the other hand, can jet over to Julia's to spy on the craft desks of the world from the comfort of our own little pads. I have been up to a few bits and bobs these last few days, making pages for She's chunky book swap.
I used Tim's papers to stamp flowers on to and made up 3 roses. My, do I find it hard to get the 2 petals bit folded correctly. These flowers are made with a medium size stamp, but I also stamped out some tiny flowers and will have a go at those today. Doubt they will have middles made with the 2 and 1 petal bits!!
I also found some 'fluffy stuff' in my cupboard which I haven't used yet, so I 'splodged' a bit on a punched snowflake to see what happened. Nothing! so I heated it a bit and it did 'puff' slightly.
I must practise more with this 'cos it's time for those Xmas cards!!!!
I should have been wallpapering yesterday, but the weather made the light really poor and I don't do artificial light. Just can't see properly in it. Ok, I'm using a desk lamp now - being 7am - but it's got a daylight bulb in it, so 'peg leg' and I went out instead. I was after the new Magnolia magazine, which I finally managed to get after a 40mile round trip.
The cards in this issue are a dream. I wish I could make them all and frame them.
I also ended up with 2 new Martha Stewart punches, one courtesy of my DH.
I was browsing a few blogs yesterday and came across a card which had the gorgeous border on it. Little did I think that I would have that punch by the end of the day. Better still, right next to it in the shop was the corner punch. Well, what good is one without the other eh???
My poor 'peg leg' has man flu now. He is in a right old mess because coughing is really bad for him what with his double hernia and all. I reckon a trip to the chemist for some cough medicine is on the cards today. Enjoy your woyww hopping everyone. I will try (probably in vain again) to get round everyone 'cos I love a good 'ol nosey.
Subscribe to:
Posts (Atom)